Good Afternoon,
I am planning on changing the posting day to Tuesdays. Sunday just seems rushed. I meant to post this last Tuesday my life has been a little hectic. Next post day should be the 14th unless tomorrow goes amazingly well then I will have a post on 7th.
Last time we talked about regular lenses. Now we will go over specialty lenses. There are quite a few Lensbaby has a whole line, and there are tilt shifts as well. The ones that I have had experience with as of now are Macro, Pinhole, and Fisheye. I don't have a fisheye at the moment but I have used then before and am not a fan.
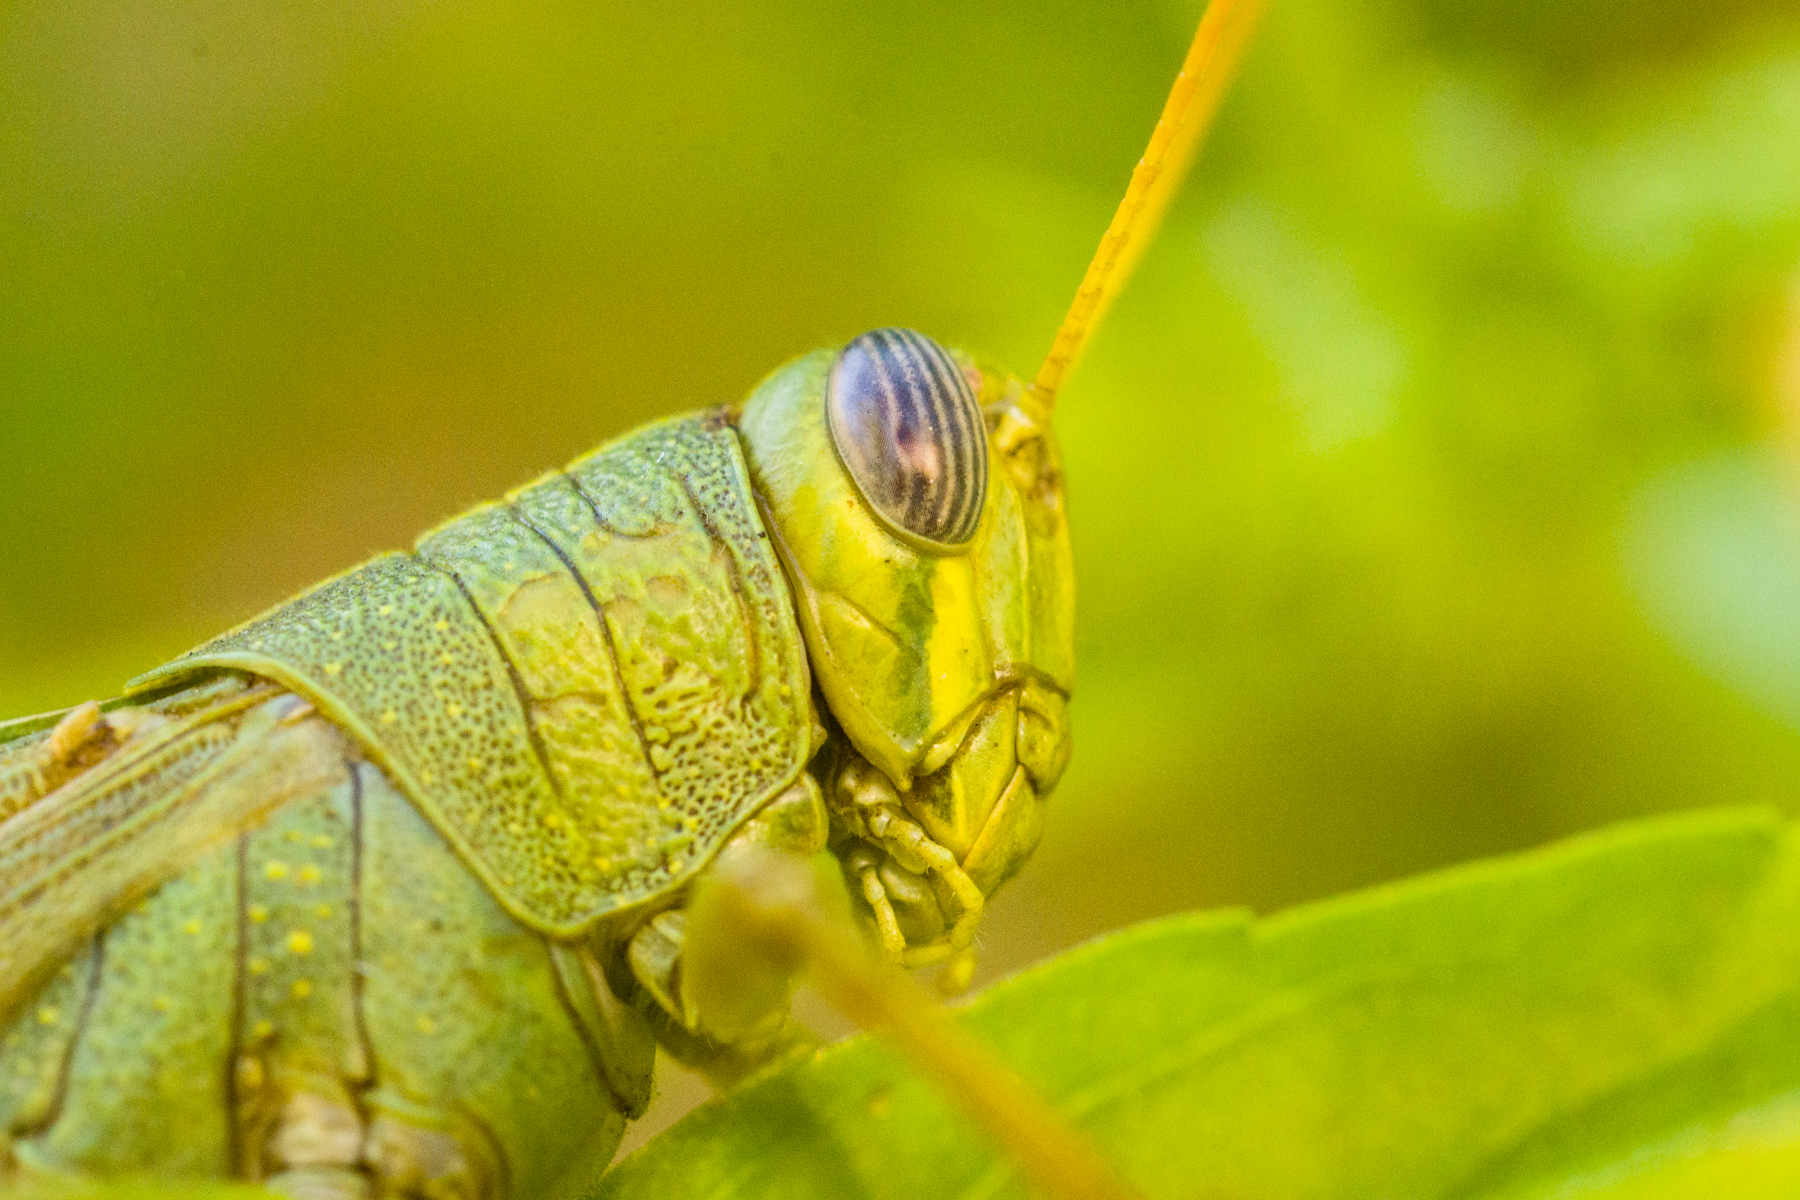
Macro lenses project the image onto the film or sensor at a 1 to 1 ratio or larger. This means that the image on the sensor is the same size as the subject. With a Sony crop sensor (23.5 x 15.6mm) an image of a dime (17.91mm) would not completely fit on the sensor. There are lenses that have a greater than 1 to 1 ration, there are close up filters, and there is also the technique of reverse mounting a lens. I haven't had a chance to experiment with a greater than 1 to 1 lens, Canon MP-E65 is the only one I can even think of (1x to 5x magnification). There are also some zoom lenses out there that say Macro on them and get you a 1 to 2 or 1 to 4 life size, they are not true macro but they are a step if you want to try it out.
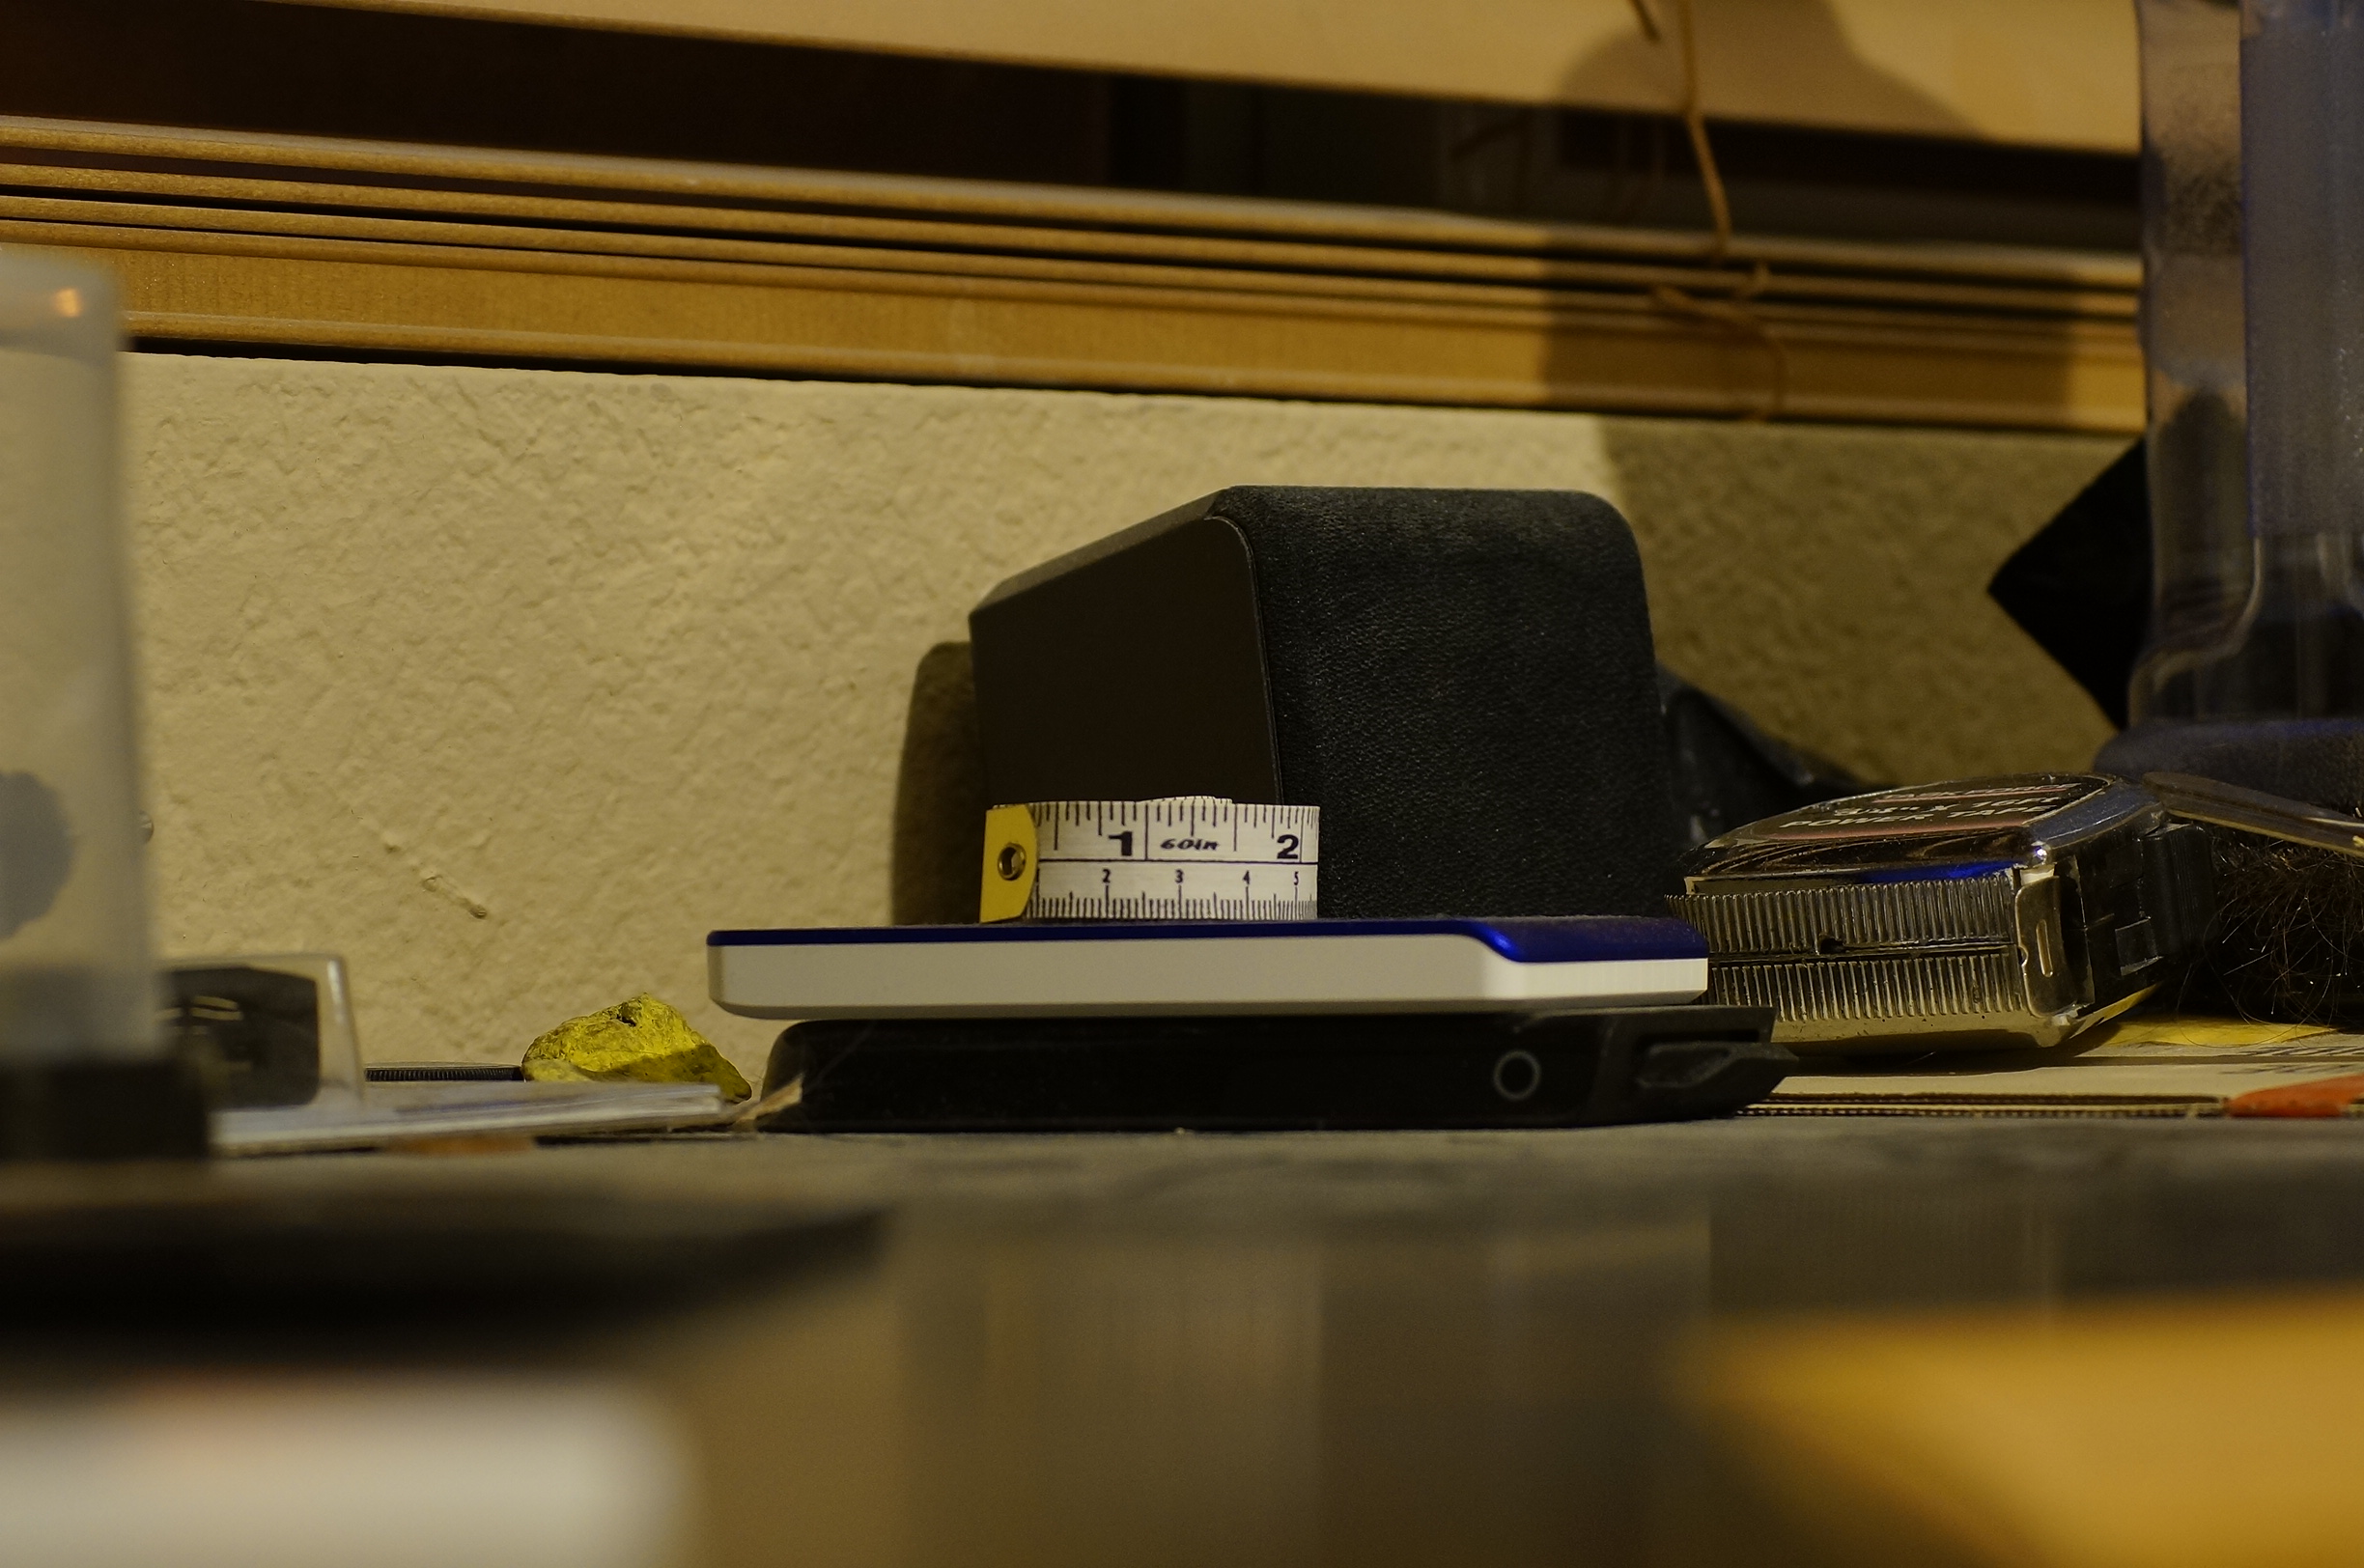
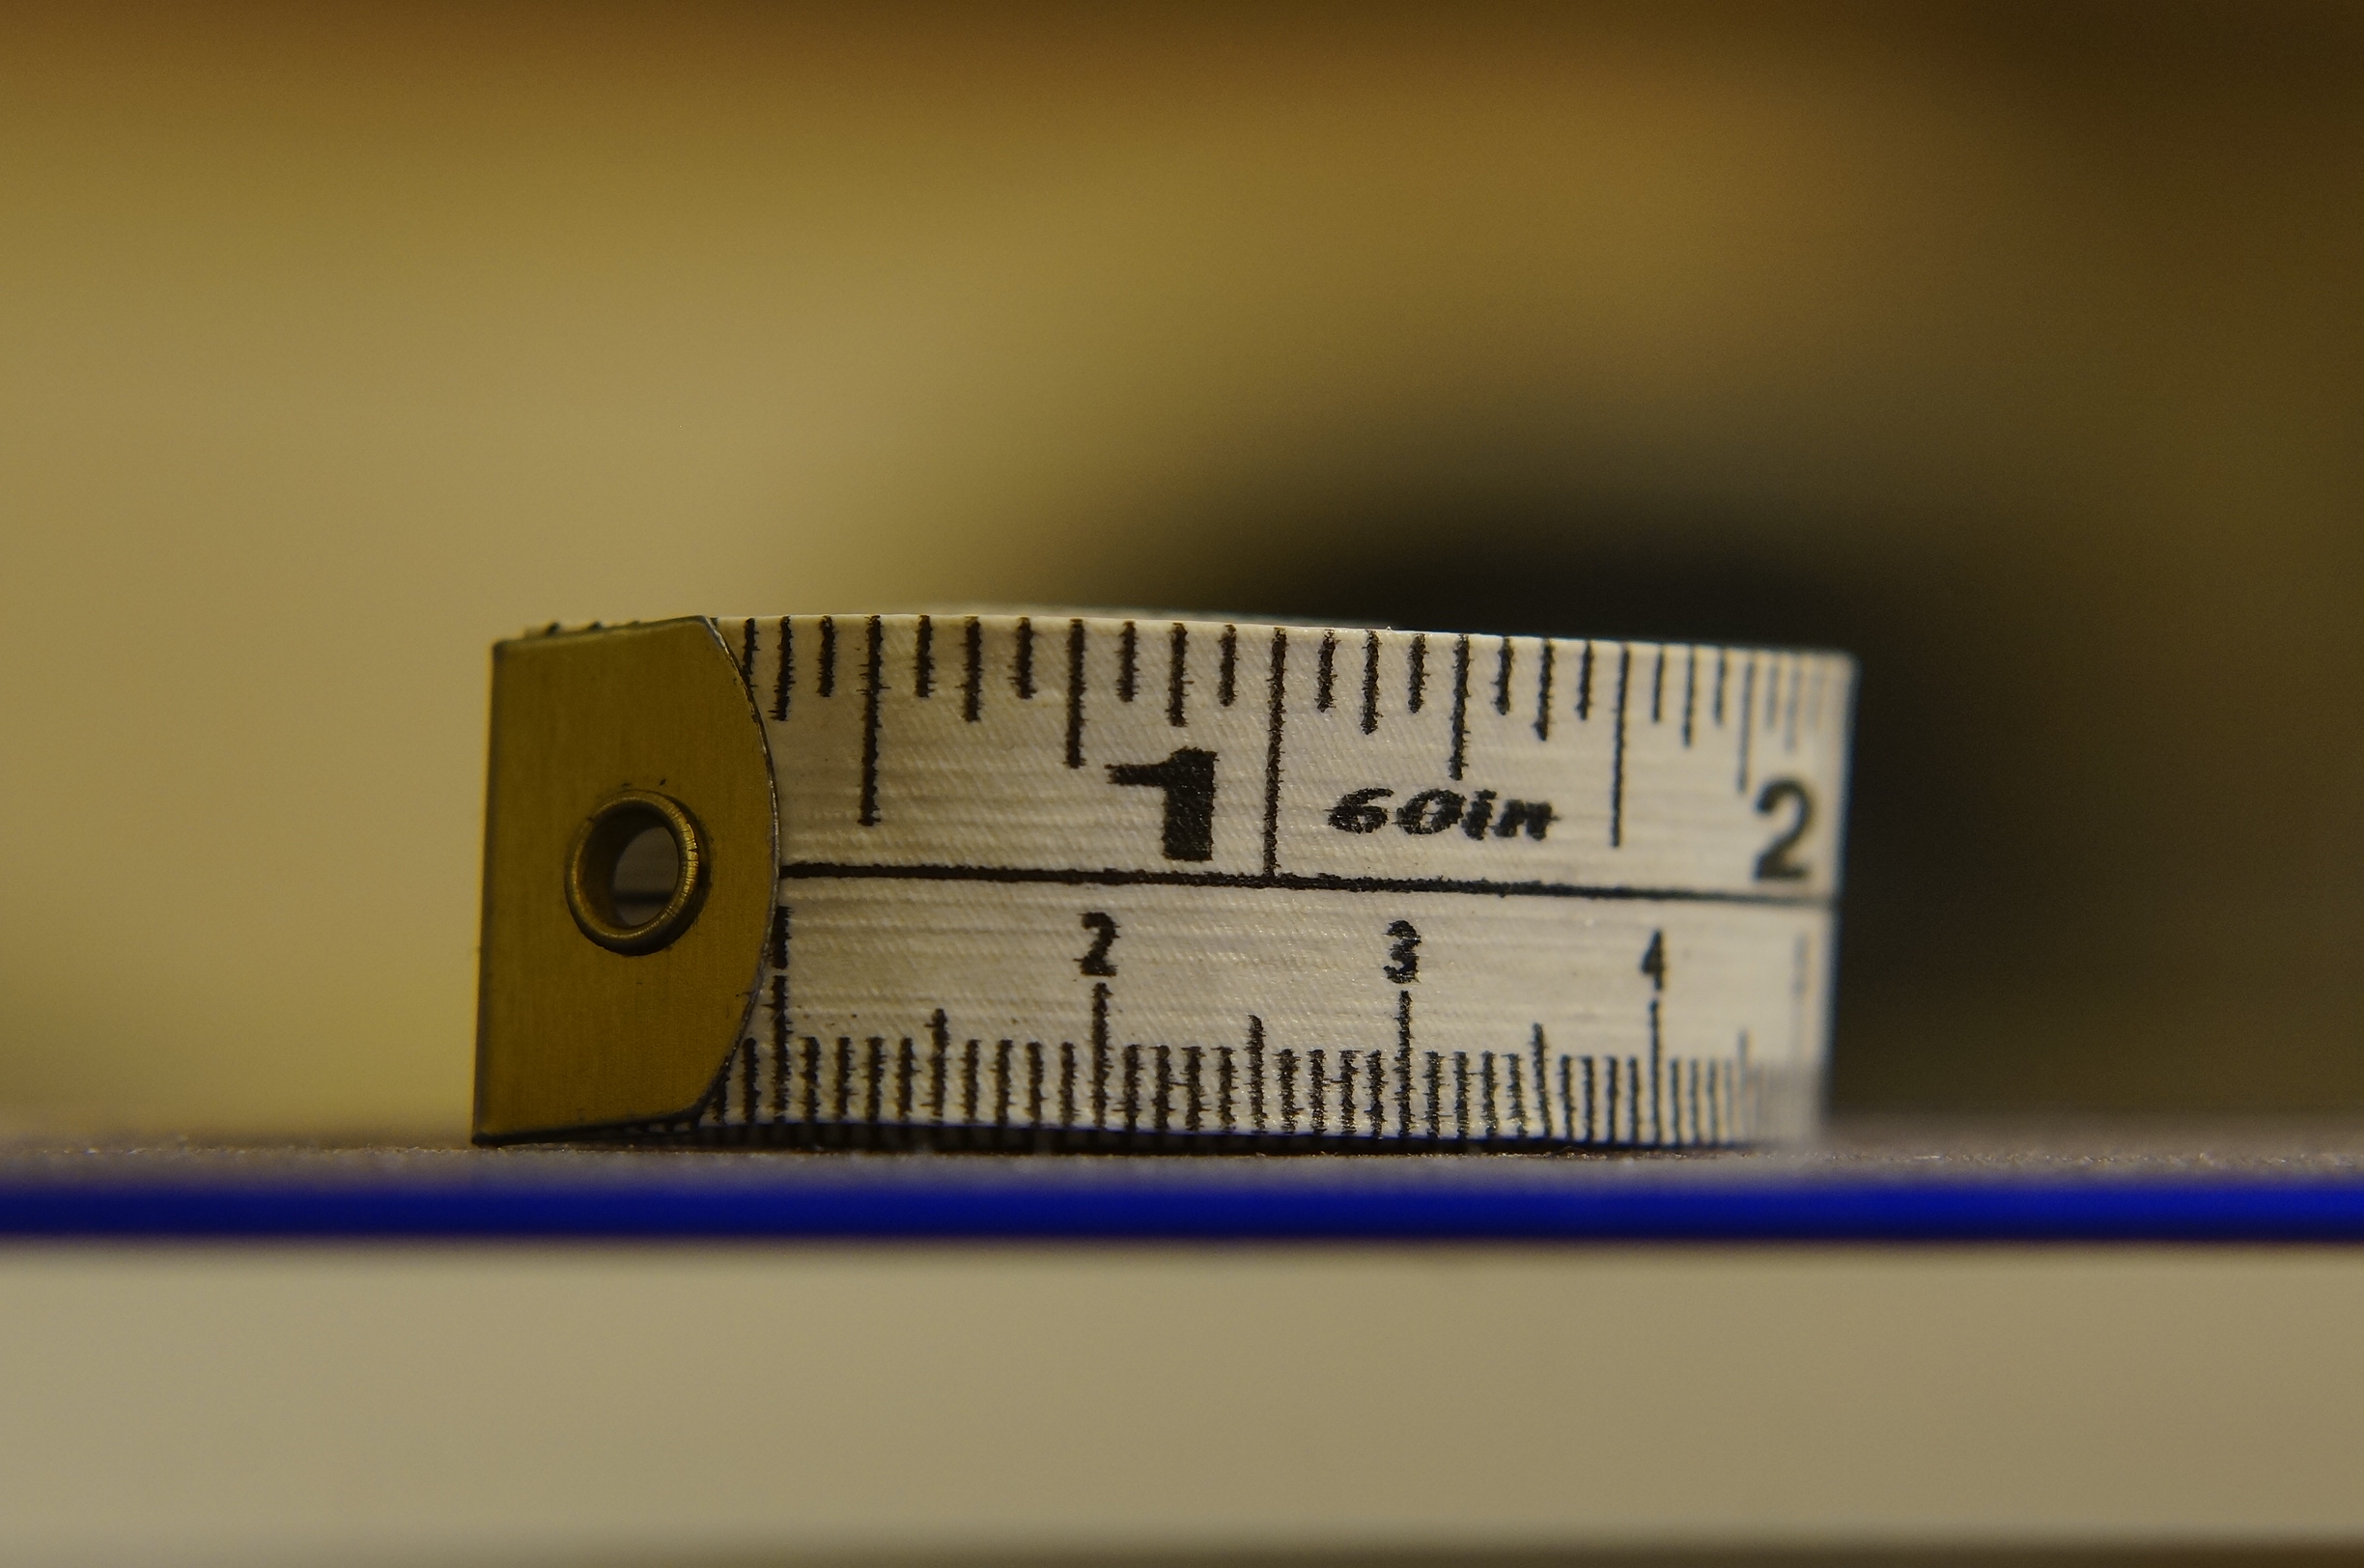
I have tried close up filters when I got my first DSLR (a Canon XTi) and didn't have much luck with them. It goes back to the quality of the glass that you put in front of your lens the ones I had were cheap and came with the camera from an aftermarket seller. Update: I found an old close up +3 filter and tried it on my 75-300mm Minolta. First image is without the filter at 75mm, the second image is with the filter at 75mm. All I did was move the tape measure roughly 3 ft closer to the camera.
Reverse mounting lenses I have tried with minimal success, I might not have given it enough of a chance. It was a dual threaded empty filter ring and the front elements of the lenses were front to front, focusing was done by moving the camera back and forth. There was very limited control and the depth of field was razor thin. If I recall correctly I had part of an insects eye in focus and part out of focus. I will look for some of the results from using it and post them here.
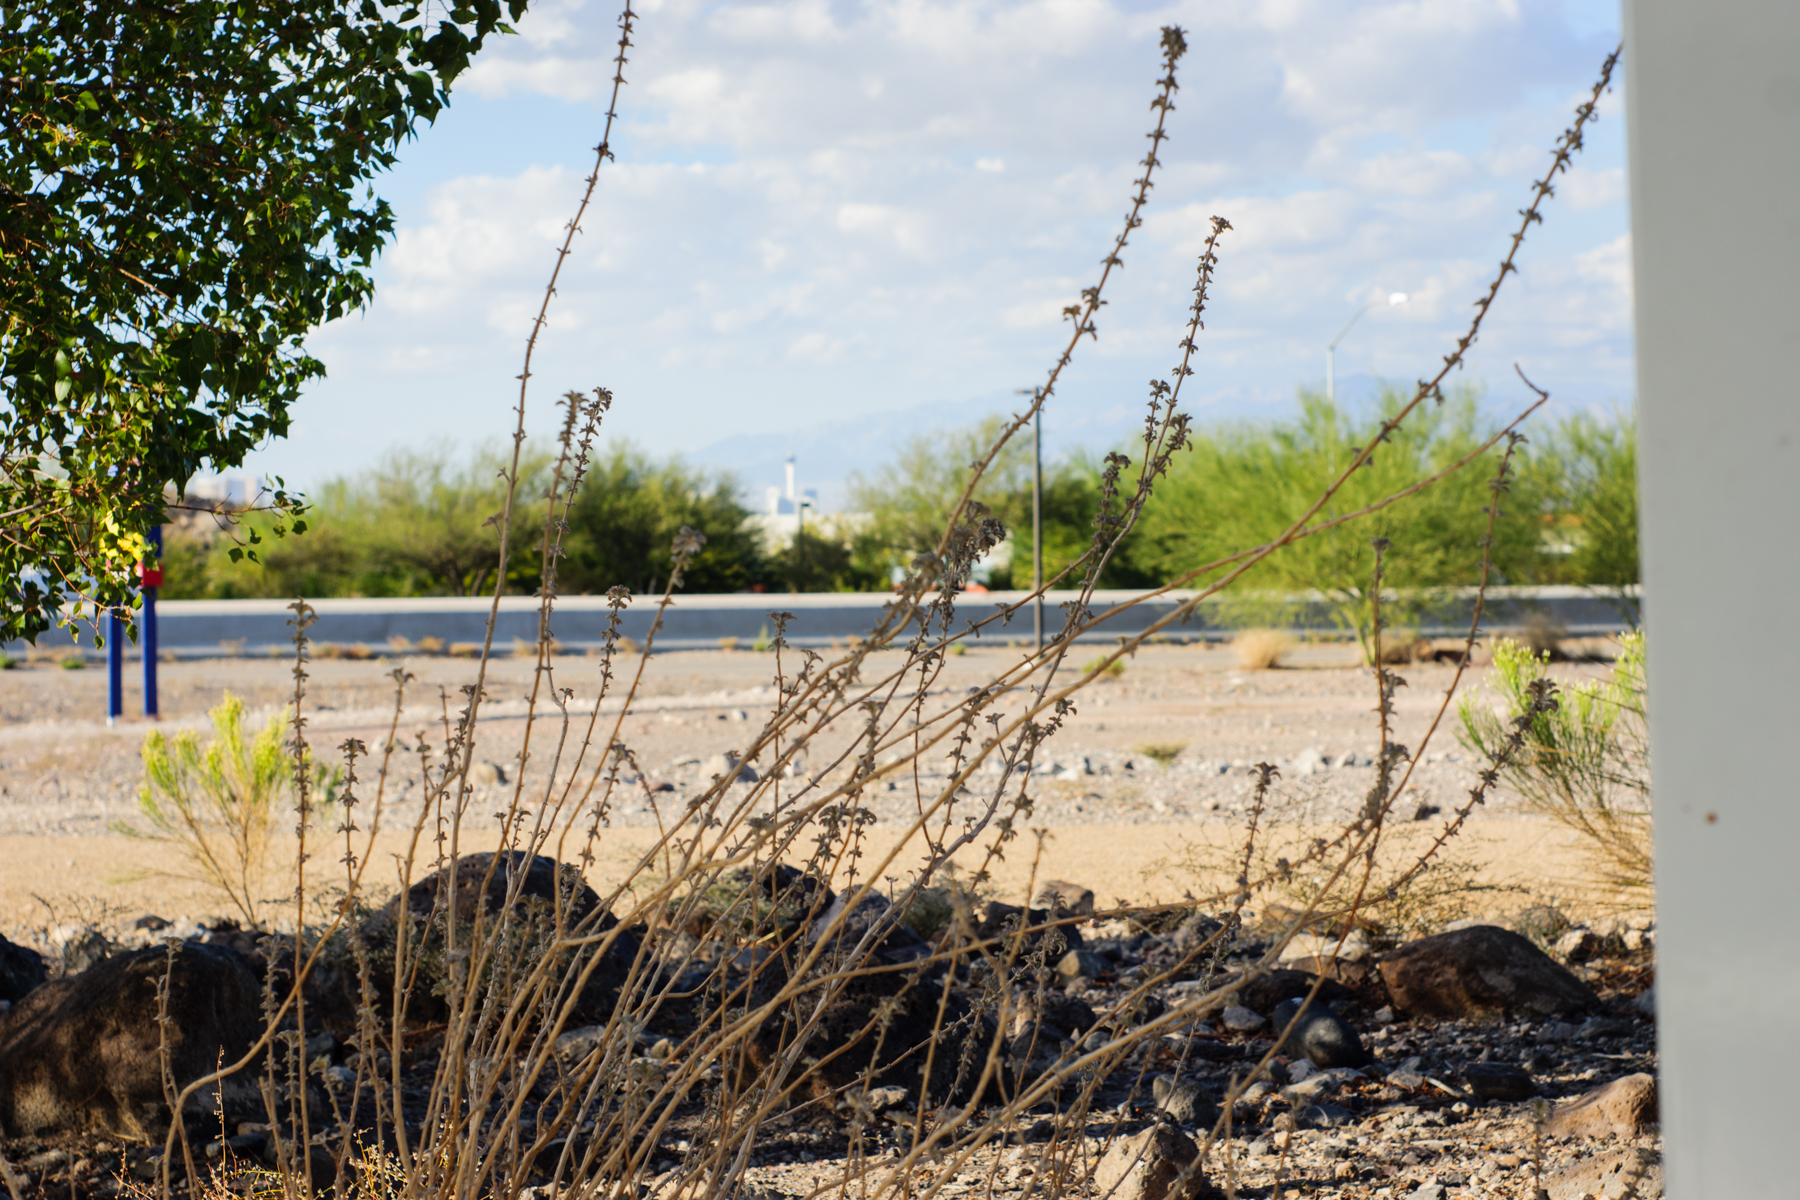
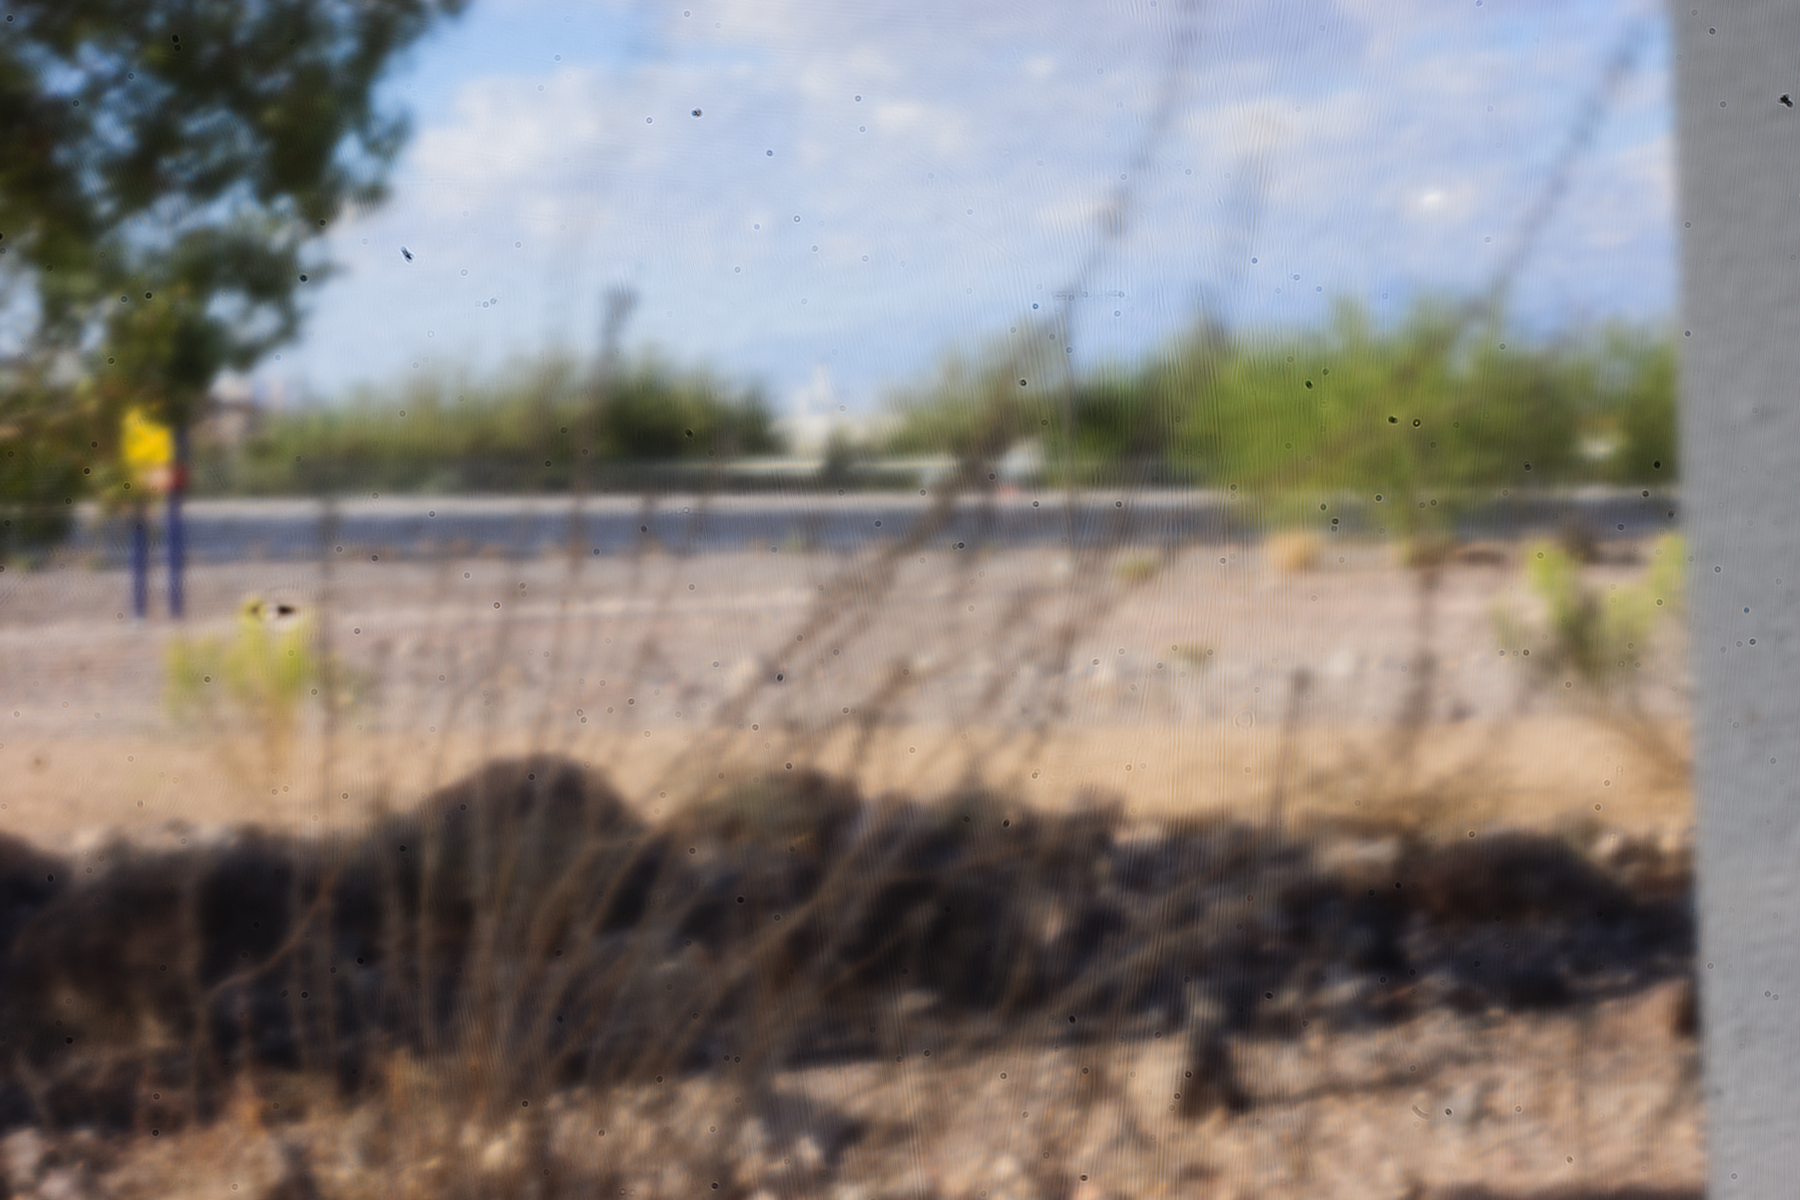
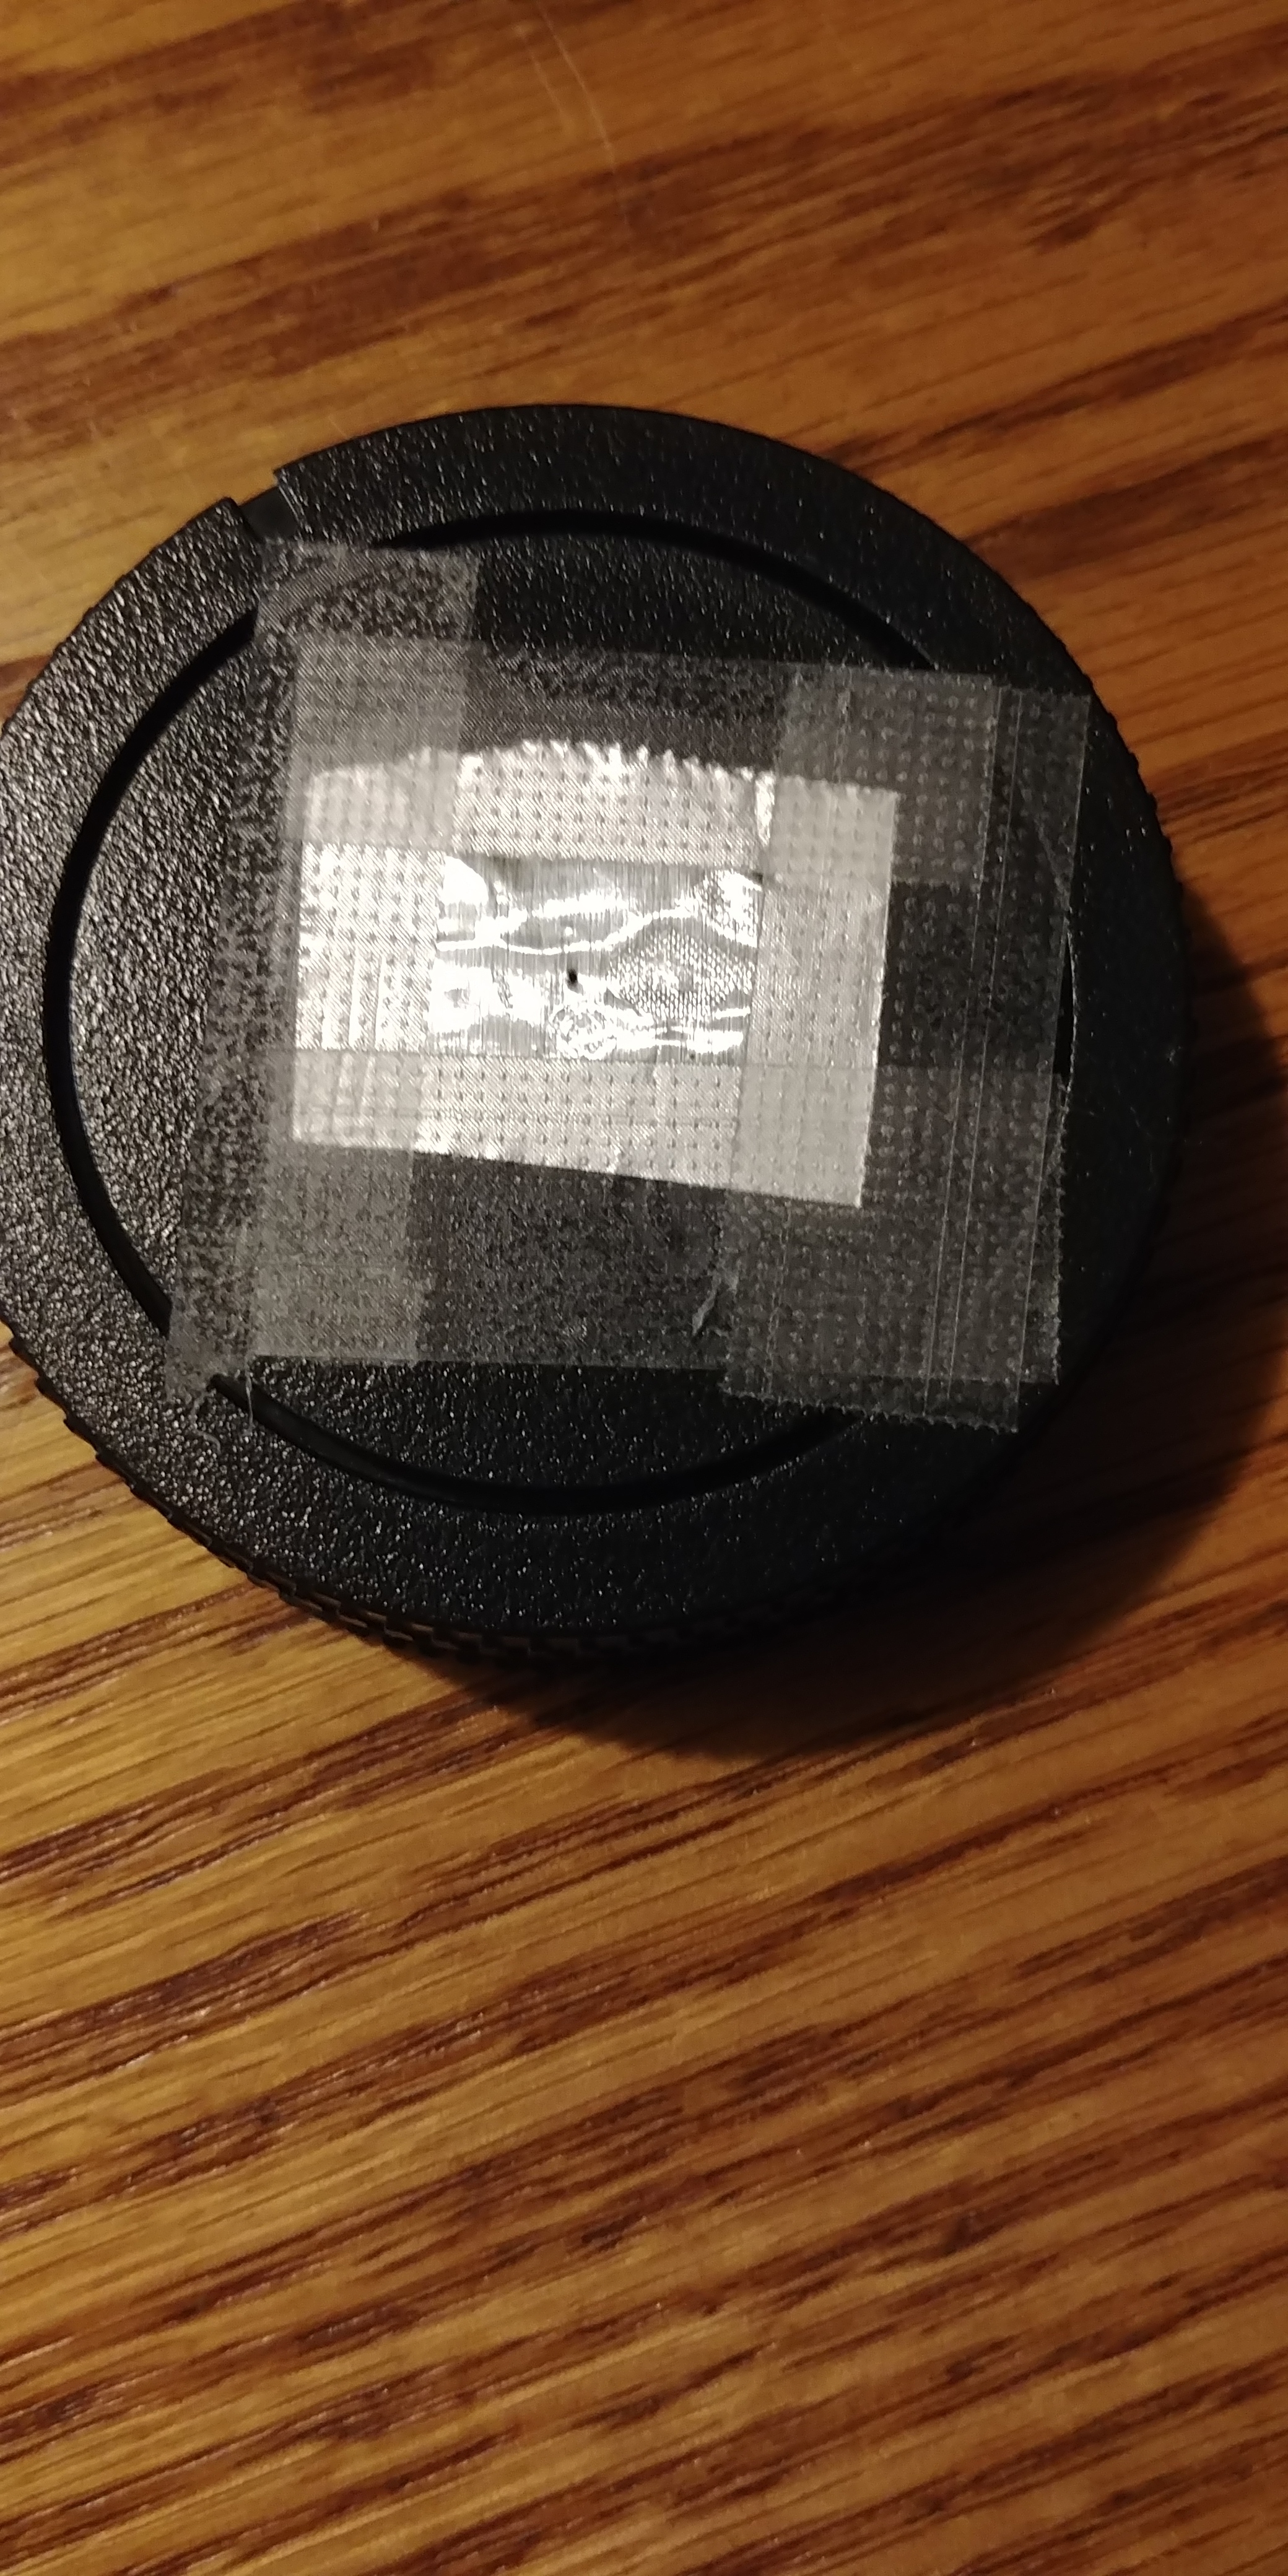
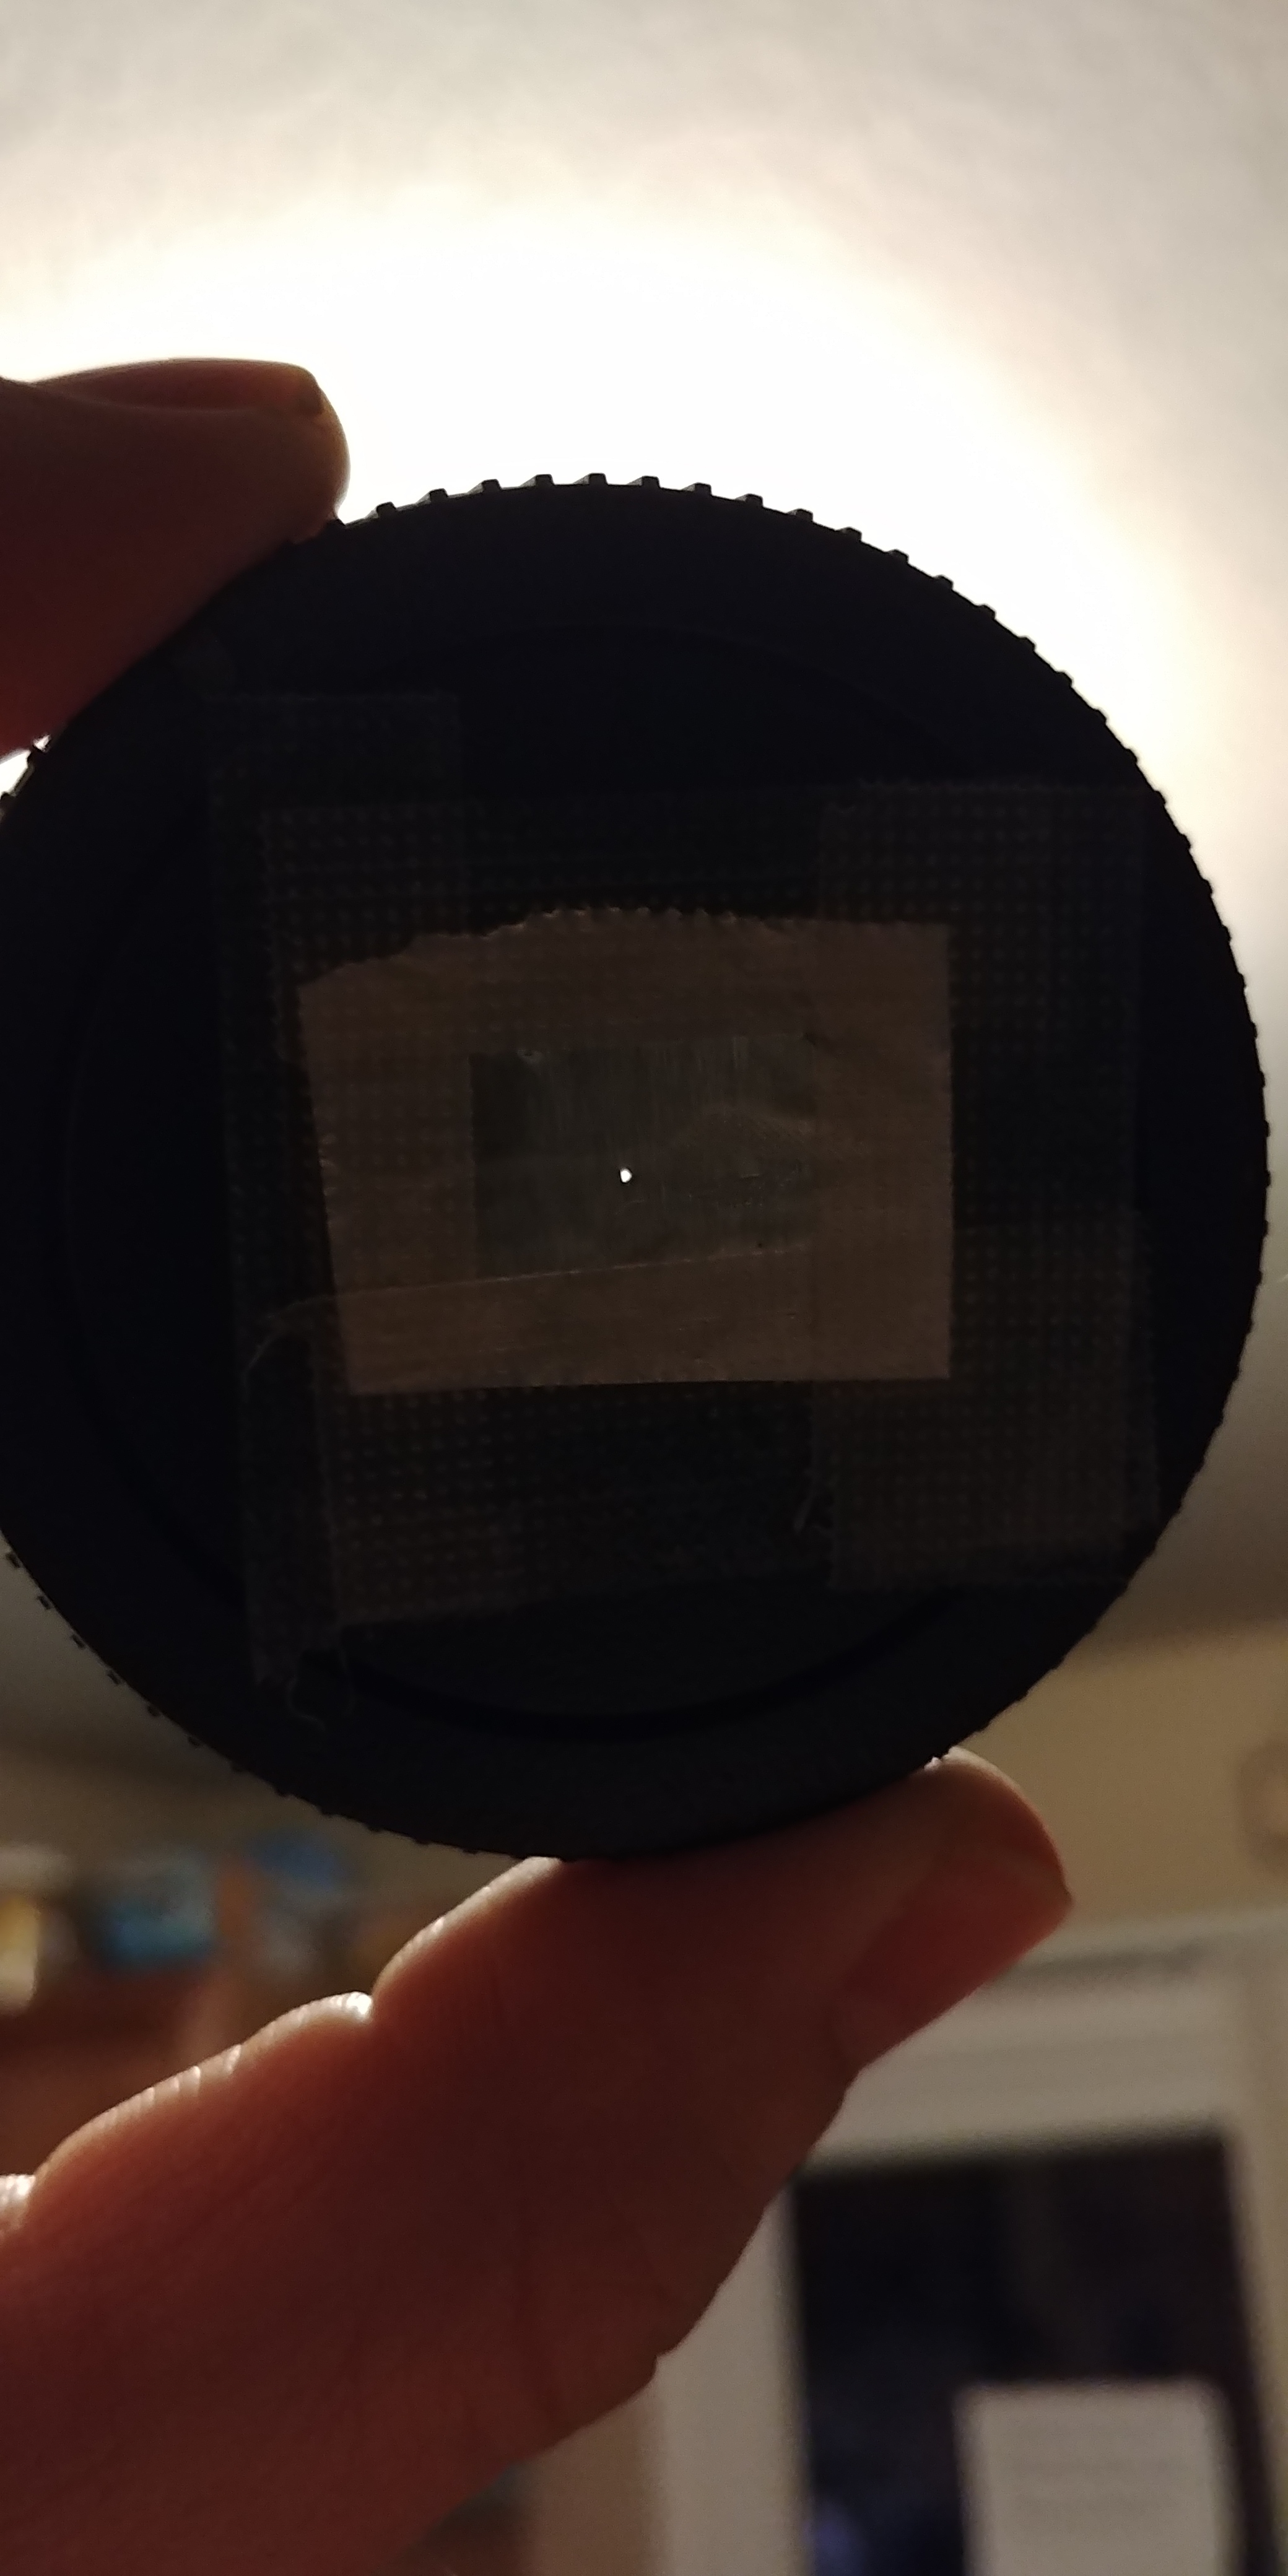
Pinhole lenses, lens is a little misleading, are a small hole that allows light into the camera. Most lenses have a range of f22 to f32 for the f-stop. Each whole stop, DSLRs can generally to 1/2 and 1/3 stops, halves or doubles the size of the aperture depending on if we are making in smaller or bigger. The pinhole in the picture above is around f190 and it roughly equates to a 50mm lens. The clear image above is a 50mm at f7.1 and the not so clear image is about 50mm and f190. If we are serious about pinhole photography then we can alter the thickness of the foil to obtain a more clear picture. I have found interesting images when searching with the parameters of “pinhole” “sun” and “long exposure.” In this case diffraction is the cause of the blurriness and this is the reason that we should probably stick to an aperture around f9 while using a lens. Going from f22 or f32 to f190 is about 6 stops (1.5% of the light) and about 5 stops (3% of the light) respectively. If we have a scene where detail isn't as important as the play of color and light vs dark then a pinhole is great. There are products we could buy for this type of photography or we could make one ourselves. All that is needed is a spare camera cover, a drill, foil, tape, and a needle. I used and insulin needle which I believe was a 31g. Pictures 3 and 4 in this slide show above show my finished result. Personally it is fun to play around with but I have yet to produce a worth while picture with it. That is all I have so go out and shoot.
~Scott
